sorry no picture available DebBee's Designs has a delightful sparkly snowman design as a free … [Read more...]
Round-up of Free Plastic Canvas Coaster Designs
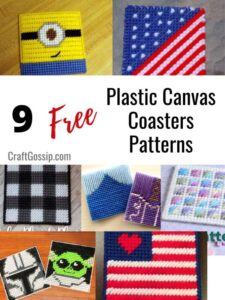
Find free patterns for delightful coasters using plastic canvas in this column from Craft Gossip. … [Read more...]
Sparkly Tree Freebie
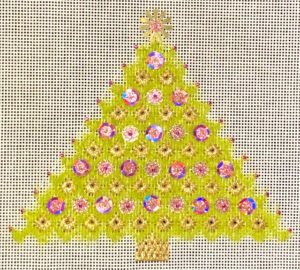
Thanks to Ada from Eye Candy we have a bonus chart for this bejeweled tree. It uses two threads, … [Read more...]
Bargello Bells Free Needlepoint Project
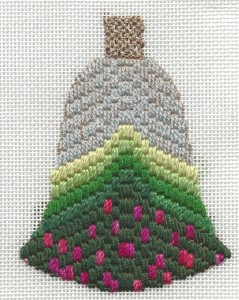
Updated December 5, 2023. Bargello always delights me because it is so changeable. With a single … [Read more...]
Half Star Needlepoint Border
The eight-pointed star is an iconic patchwork quilt pattern. There are literally hundreds of … [Read more...]
- 1
- 2
- 3
- …
- 113
- Next Page »