sorry no picture available DebBee's Designs has a delightful sparkly snowman design as a free … [Read more...]
Beware of Yarn Scraps for Nest Building
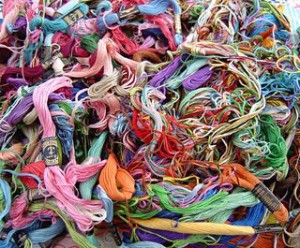
Don't succumb to the temptation to leave scraps of yarn and thread out for birds building nests. … [Read more...]
Stitching when Stuck at Home
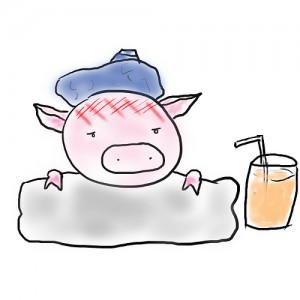
Updatyed January 2, 2024. Whether it's because there's football on, or because there's a winter … [Read more...]
New Year, New Products

Lots of designers have announced new canvases arriving soon or in the spring. West Village Knit … [Read more...]
How to Finish a Nametag
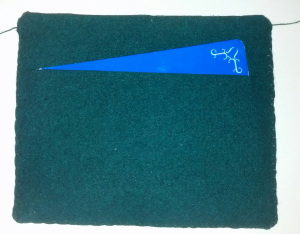
Updated December 31, 2023. If you belong to a guild, you probably have a stitched nametag. You may … [Read more...]