Updated December 24, 2023. Kreinik has a wonderful article on their blog with five tips for … [Read more...]
Needlepoint Eye Candy, Christmas Condo
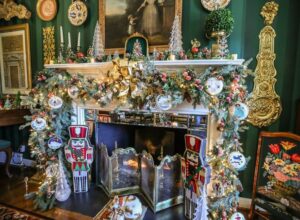
Tour a Louisville-area condo with more than 1000 pieces of needlepoint at Christmas time in this … [Read more...]
What Are Japan Threads?
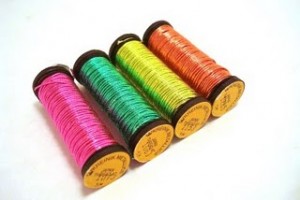
Updated December 22, 2023. Japan Thread is a term for a type of metallic thread that is similar to … [Read more...]
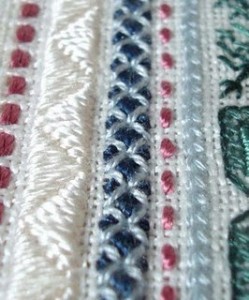
Awning Stripe Needlepoint
Monday's column discussed awning stripes as a design trend for next year. Today's column will look … [Read more...]
Round-up of Free Plastic Canvas Coaster Designs
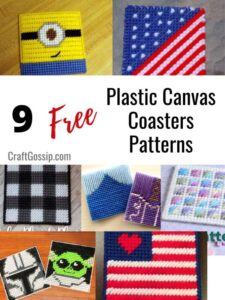
Find free patterns for delightful coasters using plastic canvas in this column from Craft Gossip. … [Read more...]
- « Previous Page
- 1
- 2
- 3
- 4
- 5
- 6
- …
- 748
- Next Page »